Showing posts with label Family. Show all posts

Monday, October 24, 2011

Back with some NEWS.

Hello friends.  Well, it's been a good two months since I've posted.  And while I feel like I have good reasons, I also feel like I've been missing my friends in the blogging world and letting you guys down for some reason.

First, I received a Jury summons at the end of August and was selected for the Jury Duty on a 4 week trial.  It was a really interesting experience (one that I'm sure would have been just as interesting had it lasted only 2 days....but you do what you have to do).  Our legal system is incredible (not without flaw, i'm sure) but I have experienced first hand just what it can do for people and I'm grateful in a weird way for the experience.

Second, for the last several months, I've been keeping secrets around here.  In about 8 weeks, we are adding another little girl to the family!  We can.not.wait.  Really.  We are so excited.

Here is me 3 weeks ago (at about  29 weeks)

I don't feel like that's an excuse for my lack of blogging....because I have felt pretty good this time around, but I have lost all sorts of motivation when it comes to doing the essentials (like housework, making dinner, and crafting....you know, the important stuff...haha).

So there you have it.  I have actually been sewing and making things, but they usually end up being for someone else and I keep forgetting to take pictures before sending them away.  I do have some things to show you guys, including a tutorial if I can get it up this week, so stay tuned if you are still around and I'll try to get back on the horse.

In other news, I've been using Pinterest for the last few months and would definitely call my love for it an addiction.  You can see my boards by clicking the button at the left or below.  Don't be surprised when you see that a lot of them are food related.....I think about food a lot these days (actually, that's normal for me even when I'm not pregnant).

Follow Me on Pinterest

Hope you all had a great weekend.  Thanks for sticking around.

Ellie

Thursday, May 5, 2011

Picnic Basket


I love this basket.  It was so easy to make and so fun to use.  It's something I've always wanted to have and actually having one now makes me want to go it the park in pretty dresses, eat watermelon and pb&j and watch the clouds go by.

Ok, no watermelon this time, but a nice apple and homemade jam will do just fine.

Want to do that too?

It's easy and you probably have most of this stuff lying around your house.

Materials:
Large basket
Cardboard (I used a small office file sized one, but it will depend on how big your basket is)
1/2-3/4 yard fabric
1/2-3/4 yard quilt batting
Fabric scraps for front/back and side ties
hot glue
ric-rac (optional)

Construction:

1.  Put your basket face down on top of your cardboard and trace.  If your basket has a handle like mine, do have at a time on the edge of a table so the handle can hang off.  You want this piece to be slightly smaller than the basket, so that it rests right inside the ridge when closed.

2.  Cut out the traced shape and lay on a slightly larger piece of cardboard.  Tape two markers or pencils together and trace onto the larger piece.  This is so that the top of the lid will hang over the basket ridge like a lip.  The ridges on the side of mine are for the handles because the handles on my basket jut inwards on the inside of the basket, so I needed to accommodate for them.  
 

3.  Use a ruler and pencil to mark a 2 inch section out of the middle of the smaller cardboard lid piece.  Cut it out so that you now have 3 pieces.  Two smaller half lids and one large lid.  On the large lid, take and exacto kinfe and very carefully perforate  the middle so that it bends on either side of the handles.  If you look carefully at the photo, on the larger piece of cardboard there is a green line towards the middle.  This is where I made my cut and directly opposite of that as well (2 perforations total). 

4.  Take each piece of cardbaord and lay it on the wrong side of a batting and fabric piece (trimmed to be about 2 inches larger on every side).   

5.  Starting with the batting, glue to the cardboard to cover completely.  Repeat the same steps with the fabric.  I used the same method as I did in the Rosette Letters.  Repeat this step on all 3 cardboard pieces.  On the large top piece, be sure you pull the fabric around the cardboard very tightly to ensure it doesn't pucker strangely when you open and close the lid.  
 

**I had more pictures of these next steps but they are MIA.  I can't find them on my computer anywhere.

6. Sew two long strips (mine were about 30" each) of fabric to create your two front and back ties to keep the basket open or closed.  You could also use ribbon.  

7.  Take the fabric strips and fold in half.  Glue the middle (folded part) to the curved edge of one of the smaller cardboard pieces on the wrong side, or the side where the fabric is not covering it completely.  Repeat for the other tie and other small cardboard piece.

8.  Take the larger cardboard piece and lay right side down so that you are looking at the side with all of the glue.  Lay a smaller piece of cardboard on top covering the glue mess with the right side facing outwards.  Be sure it lines up with the perforations and that it doesn't cover them.  We want the lid to bend.  You can see what it will look like in the picture below.  With the tie coming out the middle and the fabric covered sides showing when the basket is open and when it is closed.  
8.  I glued on the ric-rac about 1/2 inch from the edges on the inside and outside of the lid.

To create the lining, I used a similar method as the one in my Vintage Inspired Easter Basket.  

1.  I traced the bottom of the basket.

2.  Cut it out and made sure it fit in the inside. 

3.  I added about 1/2 inch when I cut out the fabric to account for seams.  I measure the height and added 5 inches so that the fabric would come over the edges.  Like the Vintage Easter Basket, I cut out two strips of fabric for the sides.  BUT...before sewing any of the lining together serge around all edges or zig-zag and cut.  

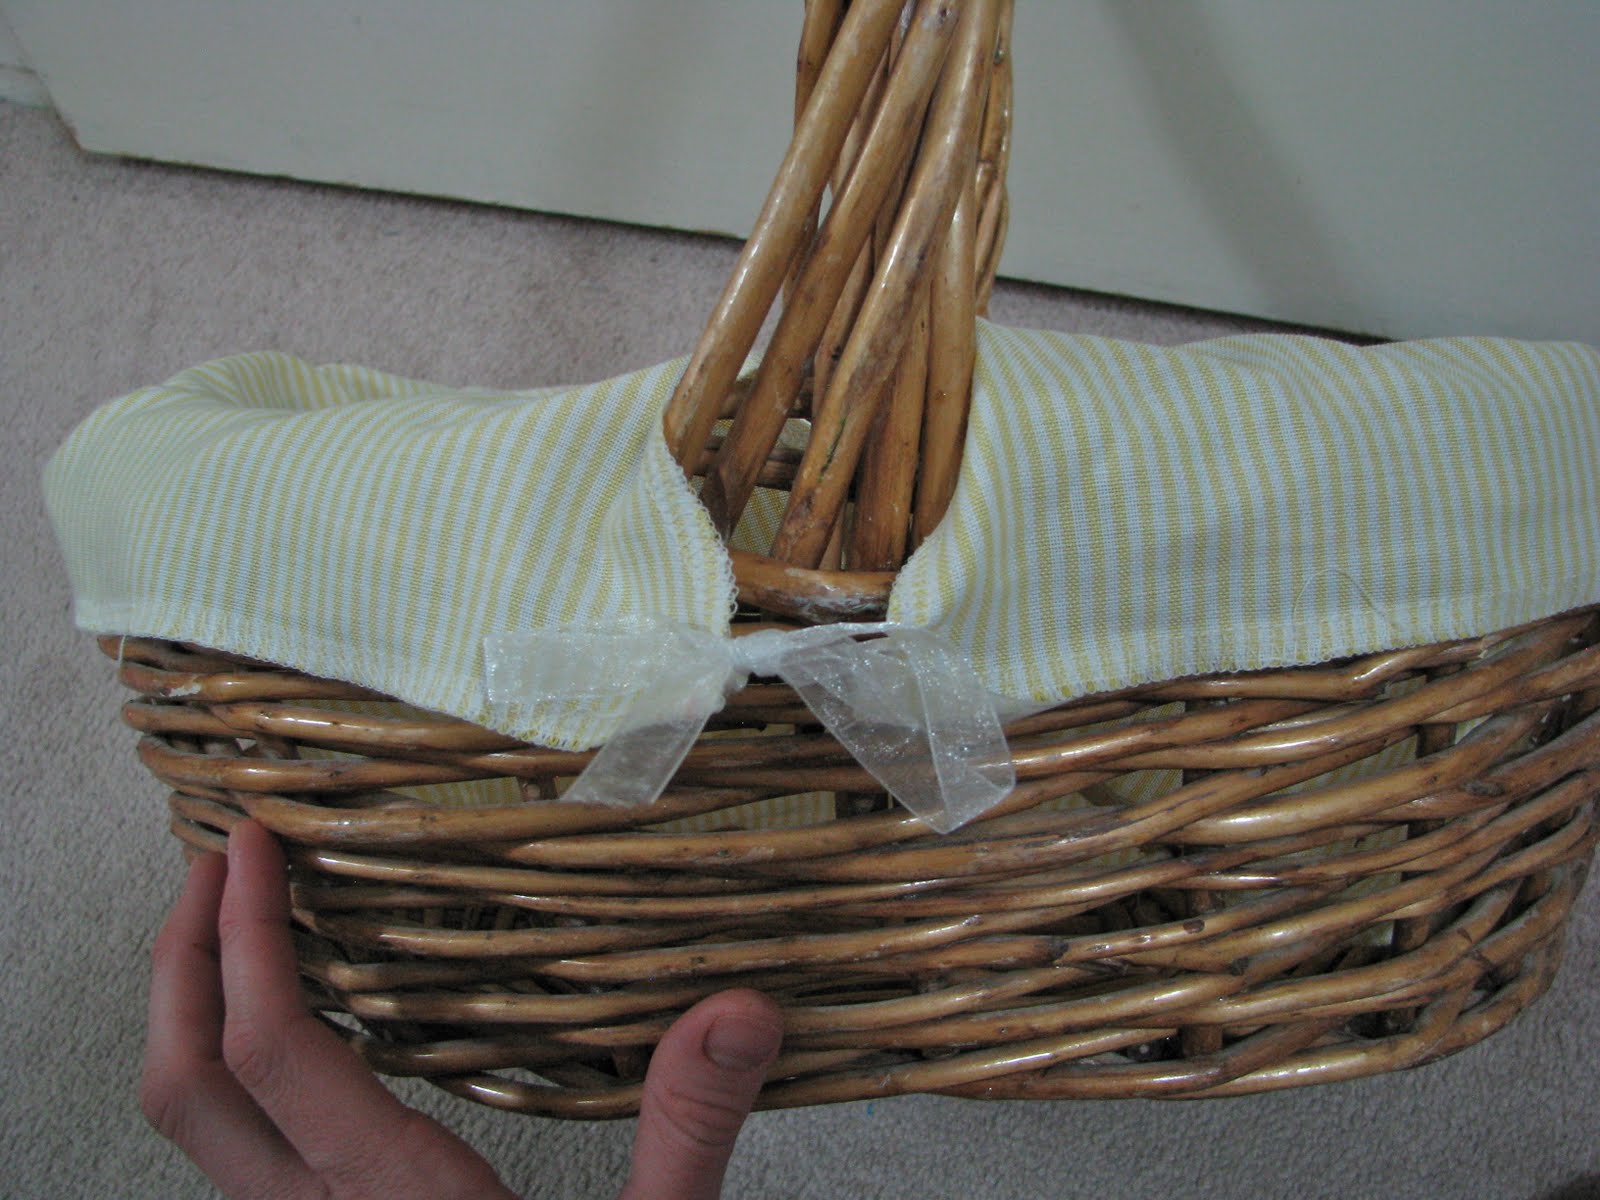
4.  When you sew the short ends of the side pieces together, leave about 7 inches un-sewn at the top to fit around the handles.  

5.  I added ribbon to each end to tie around the handles. 

6.  Then attach it to the bottom piece.  
 

Now you have you beautiful picnic basket with a functional lid!  Take it to the park and bask in the sun. 


 If you're lucky, you'll have a lot of cleaning up to do after your little one destroys the lunch you  brought. 


This post was sponsored by:


Wednesday, February 23, 2011

I'm So Lucky AND Free Printable


I've been thinking a lot about how much time I spend crafting.  It's probably about time I start making some crafts that are somewhat meaningful.  Having a fun hobby and making cute things is great, don't get me wrong,  BUT I dedicate a lot of time to making cute things without much purpose other than "cuteness".

In honor of St. Patricks day, I wanted to remind my family how lucky we are.  Which we are.  We are very lucky.  Lucky to have a home, lucky to be together, lucky to be loved...the list is endless.  Maybe some of that Irish luck was passed down from earlier generations.  Who knows?  The point is, we have it good and it never hurts to be reminded just how good that is.  

Want to join us?  Here's how:

Materials:
"I"m So Lucky" sign (see below)
8 X10 picture frame
ceramic pot (or anything else you deem suitable)
yellow cardstock
spray paint
pens
jar

I picked up a few things at the thrift store last time I was there: a wooden picture frame for $.25 and ceramic pot for $1.


I spray painted both black.  The pot took several coats.  I recommend following the instructions on the can and doing it on a warm day.  I didn't realize it needed to be 50+ degrees to work well.  It took FOREVER to dry. 


 I also embellished the frame with a few rosettes, some beads, and twine.  Similar to these.  


Then I printed out my signs.  You can use one of these or make your own.  I made mine using Photoshop but lots of programs can do the same. 


**If you click on the one you want to use, it should allow you to print.  Let me know if it doesn't work.  I've never tried this before.  

I pasted my "pot of gold"sign to a piece of card stock and glued it on a wooden dowel.  


And stuck it in the pot.


Then I cut out a bunch of gold coins from yellow card stock (big enough to write on) and placed them next to the pot with some pens to write with.  


The idea is for anyone passing to write something that makes them feel lucky on the coin and put it in the pot.  By St. Patty's day hopefully there will be a pot full of gold.  Ours is small but I somehow think it will be hard to fill all the way up.  Maybe some of you are more ambitious than us?  


Oh...you notice those other gold pieces?  Well thats because some of us might need a little encouragement to participate. 


Consider it a trade...a note for some delicious gold coins?  Yes please.


Throughout the month, or on St. Patrick's Day, take some 'gold' out and find out what makes your family feel lucky.   I realize that luck may not be the best word to use here but for holiday purposes I think it works.